
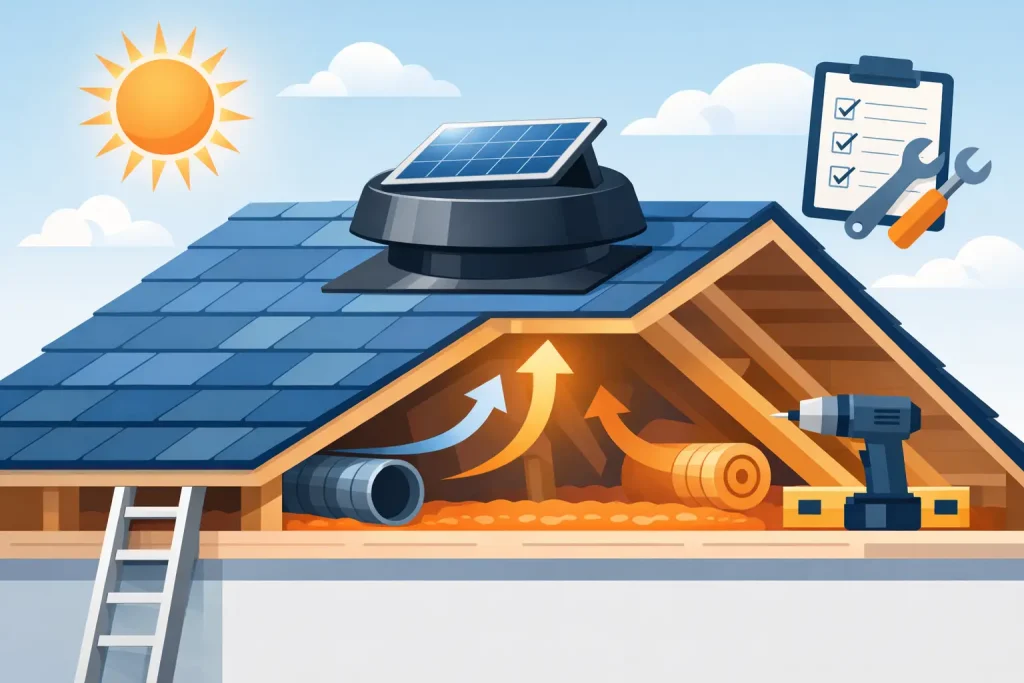
A solar attic fan only performs as intended when the roof, attic space and air-intake path work together. The key solar attic fan installation requirements are not limited to cutting an opening in the roof. Correct location, adequate soffit ventilation, secure weatherproofing and safe roof access determine whether the fan removes trapped heat effectively or simply works against a restricted attic.
For homeowners, the aim is usually a cooler roof void and less heat transfer into living areas. For warehouses, workshops and light industrial buildings, the requirement may be to reduce heat accumulation beneath a large metal roof. In both cases, a solar-powered ventilator offers a practical advantage: no mains wiring, no electricity connection and no ongoing energy cost during daytime operation. The installation must still be planned as carefully as any other roof penetration.
Start with the roof and attic assessment
Before selecting a fan size or arranging installation, inspect the roof construction. The installer needs to identify the roof pitch, covering material, rafter layout and usable space within the attic. Tile, metal and asbestos-free fibre cement roofs each require different flashing methods and fixing arrangements. A fan base designed for one roof profile should not be forced onto another with excessive sealant or improvised packing.
The proposed opening must fit between structural members wherever possible. Cutting a rafter without an approved structural solution can weaken the roof and create a costly repair. On timber roofs, the opening should be framed and supported properly. On steel-framed industrial roofs, the installer must confirm that the sheet profile, purlin positions and roof loading allow the unit to be fixed securely.
Roof condition matters just as much as fan specification. Loose tiles, deteriorated underlay, corroded metal sheets or cracked roof cement should be repaired first. A new solar attic fan cannot compensate for a roof that already admits water. It may instead make an existing weakness more visible during heavy rain and wind-driven weather.
Solar attic fan installation requirements for airflow
An extraction fan needs replacement air. If the attic has little or no low-level intake ventilation, the fan cannot move its rated air volume efficiently. It may draw air through gaps around ceiling penetrations, access hatches and recessed fittings, which can bring warm, humid indoor air into the roof void.
For most pitched residential roofs, intake air should enter at low level through properly sized soffit or eaves vents. Air then travels upward through the attic and exits through the solar fan near the upper section of the roof. This low-to-high path removes hot air where it naturally gathers. In a larger roof, air vents may need to be distributed along both eaves rather than concentrated at one end.
The correct balance depends on the attic volume, roof shape, insulation arrangement and local exposure. A compact bungalow roof needs a different approach from a long warehouse roof with several bays. Treat the fan capacity and intake opening as a matched system. Installing a high-capacity fan on an attic with restricted intake will not produce proportionally better ventilation.
Existing ridge vents, gable vents and passive roof ventilators also need consideration. They may support the overall airflow plan, but poorly arranged exhaust openings can cause short-circuiting, where the fan pulls air from a nearby roof vent instead of drawing it through the full attic. A site assessment should establish the intended air path before the new unit is installed.
Choose a position with useful sunlight
The solar panel must receive strong daylight for the fan to operate consistently. Positioning is therefore more than an appearance decision. Trees, neighbouring buildings, chimneys, parapet walls and roof-mounted equipment can cast shade across a panel for much of the day. Even partial shading at peak sunshine can reduce fan output when attic temperatures are highest.
A south-facing roof plane is often favourable in the UK, but orientation alone is not enough. An unobstructed east or west exposure may perform better than a south-facing position shaded by a chimney. The installer should observe likely shading across the working day and select the highest practical roof area that remains accessible for fitting and future inspection.
The fan should normally be located high on the roof, where hot air collects, while maintaining adequate clearance from ridges, valleys, hips and roof edges. Fitting too close to a valley increases the risk of water concentration around the flashing. Installing too near the ridge can make correct tile dressing and weatherproofing more difficult. Manufacturer installation dimensions should always take priority over a general rule of thumb.
On wide commercial and industrial roofs, several smaller units or purpose-designed large-capacity ventilation equipment may be more suitable than one fan. The right arrangement depends on roof zones, internal heat sources and the distance air must travel. A single extraction point at one end of a long building will not ventilate every area equally.
Weatherproofing is a roof-work requirement
A solar attic fan installation should be treated as professional roofing work, not merely fan fitting. The roof opening must be cut accurately, with no sharp exposed edges or unsupported sheet material. Flashing should direct water over and around the fan base in the same way as other roof penetrations.
On tiled roofs, tiles should be lifted and re-laid so that upper courses shed water onto the flashing. On metal roofs, compatible fixings, sealing washers and correctly formed flashings are essential. Avoid relying on a thick bead of sealant as the primary defence against rain. Sealant supports a properly designed flashing detail; it does not replace one.
The installer should also check the internal side of the opening. Any cut underlay, membrane or insulation must be finished so it does not obstruct airflow, trap water or flap against the fan. Where condensation risk is a concern, the roof ventilation strategy should allow moisture-laden air to leave the attic without drawing humid air from occupied rooms.
Confirm safe access and installation practice
Roof work carries obvious fall risks, particularly on steep, fragile, wet or high roofs. Safe access equipment, edge protection and suitable lifting arrangements should be agreed before work begins. A solar attic fan may be relatively compact, but lifting it onto a roof and working around an opening still requires controlled site practice.
The unit must be fixed into a sound roof structure using the specified fasteners. Over-tightening can distort a metal base or crack a brittle roof sheet; under-tightening can allow movement in high winds. The fan housing and solar panel should sit level as required by the product design, with no loose components that can vibrate or rattle.
Although solar attic fans do not require a mains connection, the panel cable and connector should be protected from abrasion, sharp edges and standing water. Cable routing inside the roof space should be neat and secured. Do not alter connectors or mix unsuitable electrical components simply to extend a lead. Follow the supplied product instructions, especially where a separate solar panel, thermostat or control component is specified.
For industrial sites, installation requirements may also include permit-to-work controls, roof-load checks and site-specific safety procedures. In oil and gas locations, chemical stores or areas with flammable vapours, ventilation equipment must be selected for the hazard classification rather than assumed suitable because it is solar powered. Spark and ignition prevention require application-specific equipment and documented site approval.
Commission the fan before signing off
Once fitted, test the unit in daylight and confirm that the fan starts, rotates freely and exhausts air in the intended direction. From inside the attic, check that daylight is not visible around the flashing or mounting base. Inspect the roof externally for lifted tiles, exposed fixings, incomplete seals and areas where water may collect.
Commissioning should also include an airflow check. Open the attic hatch briefly and assess whether air is entering through the intended low-level vents rather than being drawn from gaps in the ceiling. If the fan is operating but airflow seems weak, the cause is often inadequate intake ventilation, shading or an attic divided by partitions that prevent air reaching the fan.
After the first period of heavy rain, a further inspection is worthwhile. Look for moisture marks around the opening and confirm that the unit remains secure. Solar operation removes the need for grid electricity and keeps running costs low, but the roof itself should still be checked as part of normal property maintenance.
A well-installed solar attic fan is a simple, practical roof ventilation measure. Select the unit around the building, not just the advertised airflow figure, and make the roof detail, intake vents and safety controls part of the same installation decision. That is how the fan can keep removing daytime heat without adding wiring, electricity use or avoidable roof problems.
Pingback: Non-Motorised Roof Ventilation System Guide – Forest Wind Profile
Pingback: What Size Roof Ventilator Is Needed for a Roof? – Forest Wind Profile
Pingback: Is a Roof Ventilator Fan Solar Right for You? – Forest Wind Profile
Pingback: Solar Versus Electric Ventilators Compared – Forest Wind Profile